How to Find Your Cloudflare Nameservers and Update Your Registrar
Find the nameservers assigned to your Cloudflare zone, preserve website and email records, update the registrar, and verify activation.

- domains
- dns
- guide
Find your assigned Cloudflare nameservers in the domain's Overview page in your Cloudflare account. Copy those exact names into your registrar's nameserver settings after preparing the replacement DNS records. Cloudflare's full setup procedure documents the sequence.
Do not enter 1.1.1.1 into the registrar's nameserver form. The public resolver setting serves a different task. This guide covers moving a domain's authoritative DNS to Cloudflare through the usual full setup.
If you only want your device to use Cloudflare for DNS lookups, use the Cloudflare DNS device setup guide.
The correct Cloudflare account contains the assigned nameservers
Sign in to the Cloudflare account that will manage the domain. Select the exact domain, then open Overview. Cloudflare says the assigned nameservers appear during onboarding and remain available on the zone Overview page.
Copy every assigned nameserver exactly as Cloudflare displays the name. Do not copy a pair from a tutorial, another domain, or a different Cloudflare account. A recognizable Cloudflare suffix does not establish the correct assignment.
Before changing anything, record the domain, the Cloudflare account owner, the current registrar, and the current nameservers. Save the old settings in your migration notes. Make sure an authorized administrator can access both accounts.
If the domain already uses Cloudflare Registrar, the normal onboarding flow differs. Cloudflare states that domains purchased through Cloudflare Registrar already use Cloudflare authoritative DNS. Follow the domain's existing account configuration instead of repeating a registrar migration.
Our registrar explanation helps distinguish the registration account from the DNS account when different providers supply those services.
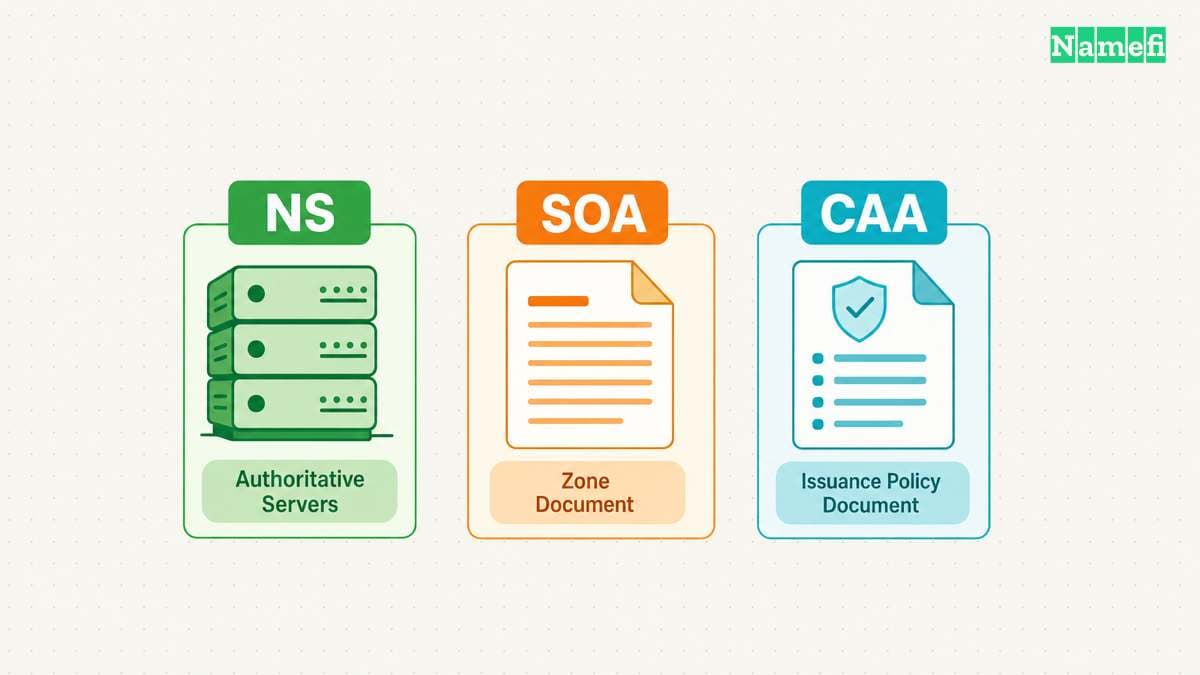
Review the complete DNS zone before changing the registrar
Cloudflare asks administrators to review imported records. The setup guide specifically calls out the apex domain, subdomains, and email records. The required email values depend on the email provider.
Use the old DNS dashboard or an available zone export as your inventory. Compare the inventory with Cloudflare's records. Do not treat an automatic discovery screen as proof that every service has a corresponding record.
As practical migration advice, include less visible services. A website can work while a verification token, a support subdomain, or an email authentication record remains missing.
| Service | Information to compare | Practical test after the change |
|---|---|---|
| Main website | Apex and www records | Open the exact public addresses |
| Email delivery | Provider's MX records | Receive an external test message |
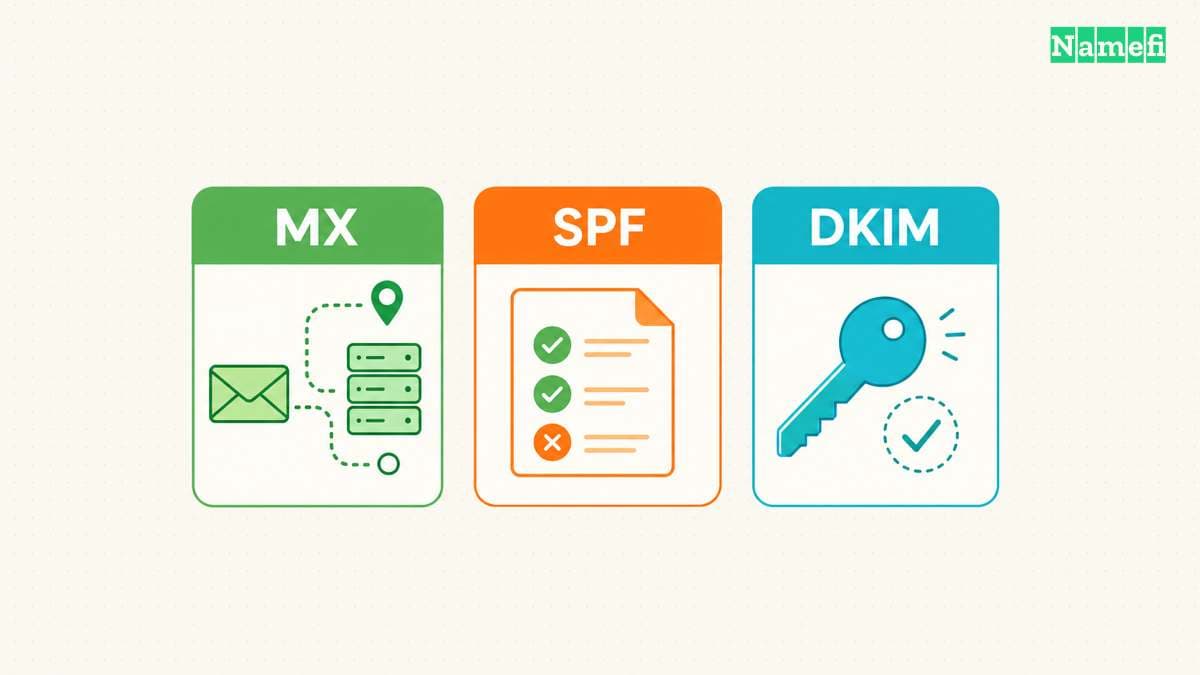
| Email authentication | SPF, DKIM, and DMARC records | Send a message and inspect authentication |
| Service verification | Provider-issued TXT or CNAME values | Recheck the relevant service dashboard |
| Other subdomains | Required targets and record types | Open the actual application route |
Keep the website host's and email provider's instructions beside the inventory. A nameserver migration does not supply replacement values for those services.
For record relationships, read the DNS record guide before choosing a record type.
Follow a DNSSEC migration plan before replacing nameservers
DNSSEC requires specific preparation. Cloudflare warns that replacing nameservers while the old DNSSEC configuration remains active can make the domain unreachable. The standard onboarding procedure tells administrators to turn off DNSSEC at the registrar before replacement.
Follow the registrar's documented process for the domain. Confirm the completed change before proceeding. Do not assume that clicking a control at the old DNS provider completed the registrar-side work.
Some organizations require a migration that preserves validation continuously. Cloudflare links a separate DNSSEC migration tutorial for providers that support the necessary DNSKEY configuration. Use that documented procedure with the responsible DNS administrator.
Keep a written record of the chosen approach. Record who will re-enable DNSSEC and what evidence will confirm the final configuration. A migration plan should include the completion step, not only the temporary change.
Avoid unrelated security changes during the migration. If you cannot identify the existing DNSSEC state, resolve that uncertainty with the registrar before replacing the nameservers.
Replace the nameserver set at the registrar
Open the exact domain's settings at the registrar. Find the control for authoritative nameservers or custom nameservers. The wording varies by provider, so follow the registrar-specific route linked from Cloudflare's setup instructions.
- Confirm the domain name in the registrar account.
- Save the current nameserver set in your notes.
- Remove the old nameservers from the replacement form.
- Enter the exact nameservers assigned by Cloudflare.
- Review every character before saving the change.
- Save the registrar's confirmation in your migration notes.
Cloudflare instructs administrators to remove the old authoritative nameservers and add the assigned Cloudflare nameservers. Do not leave the old set in place as an improvised backup.
Also avoid confusing the registrar's delegation controls with an ordinary NS record inside Cloudflare. Follow the full setup instructions at the account that controls the domain's delegation.
If a reseller manages the domain, the reseller may provide the relevant control. Cloudflare explicitly recognizes that some setups require the parent zone or reseller instead of the usual registrar interface.
Verify activation and test each service independently
Return to Cloudflare and check the domain's status. Cloudflare says the domain will show Active after successful activation. The setup guide also provides command-line nameserver verification checks.
On a computer with dig, run dig NS example.com for a hypothetical domain. Replace example.com with your domain. Compare the returned names with the assigned set. The command is a procedure example, not a live result.
If the status remains Pending Nameserver Update, compare the saved registrar settings with the assigned names. Check that the registrar accepted the change. Follow Cloudflare's pending-status troubleshooting route if the mismatch remains unclear.
A successful nameserver check does not complete the service tests. Open the website, send and receive email, and check important subdomains. Record the actual outcome for each service.
Follow the documented DNSSEC completion step after activation. Keep the previous DNS service available while you verify continuity and decide when to retire the old configuration.
After the provider confirms activation, compare the known records with Namefi's DNS lookup. If the domain uses DNSSEC, also record the DNSSEC tool's resolver evidence. Neither observation proves worldwide propagation, and the DNSSEC tool does not independently validate the complete chain.
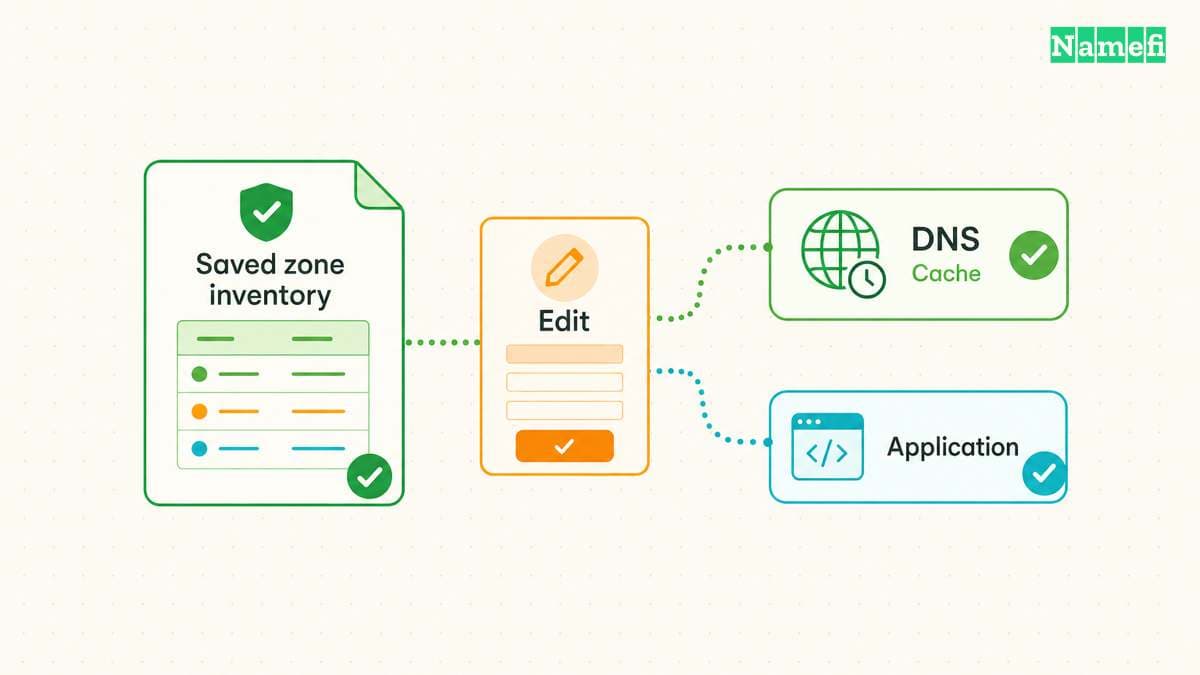
A successful migration has evidence beyond a saved form
Your completion note should contain the assigned nameservers, the registrar confirmation, the Cloudflare activation status, and service-test results. Include the final DNSSEC state and the administrator responsible for future DNS changes.
If email fails while the website works, compare the email inventory first. If the entire domain fails, examine delegation and DNSSEC with the relevant providers. Repeatedly changing nameservers without identifying the failed layer makes recovery harder.
Start with the correct Cloudflare zone's Overview page. Finish with an active zone and working website, email, and subdomains. Those checks establish that the migration serves the domain's actual users.
Sources and further reading
Cloudflare documents its full setup procedure
Cloudflare documents its full setup procedure. Checked 2026-10-30.
About the author(s)
Fenwei Bian is a software developer in her thirties who spends her working hours in pull requests and her weekends with her hands in soil or sawdust. Years of open source on GitHub taught her that names are interfaces: a good one is clear, honest about what it does, and kind to whoever has to use it next.
She gardens because it rewards patience and punishes wishful thinking, and she does woodwork because a joint either fits or it doesn't. Both habits show up in how she writes about naming — measure twice, check the source, and don't sand over a rough spot and hope no one notices.
For Namefi she writes about how domain markets actually move, the practical trade-offs of tokenizing and flipping names, and picking a domain you'll still be glad you own in twenty years.